
7 Awesome Zoom Features for Virtual Training and Facilitation
- Daniela Vargas

- Jun 15, 2022
- 5 min read
Updated: Feb 24, 2025
Unless you have been happily living under a rock for the last 2 years, you are very aware that Zoom is a tool of preference among learning facilitators worldwide.
Due to its user-friendliness and great features, we have been using this fantastic tool for most of our meetings and learning sessions (webinars, trainings, and team-building events). However, there might be some Zoom features you may not be aware of or are underusing.
In this article, we bring you a list of 7 Zoom features that will save your online learning event. Let's begin!

Table of Content:
Tip 1. Explore the features!
Many Zoom features need to be activated while setting up your Zoom account. Start by logging into your Zoom web account and click on Settings on the menu on the left.

Go over the options on the screen (Meeting, Recording, Audio Conferencing, and any others your account is enabled for). Take your time to carefully read each option. You would be surprised by the number of features you can enable/disable for your account.
Tip 2. Set up your 'classroom'.
Before your session starts, ensure your meeting layout is correctly set up. That may include having your chat window opened in your secondary monitor to communicate and gather input from your audience. If you've turned on "private chat" in the Meeting Settings, participants will be able to send private messages to each other.
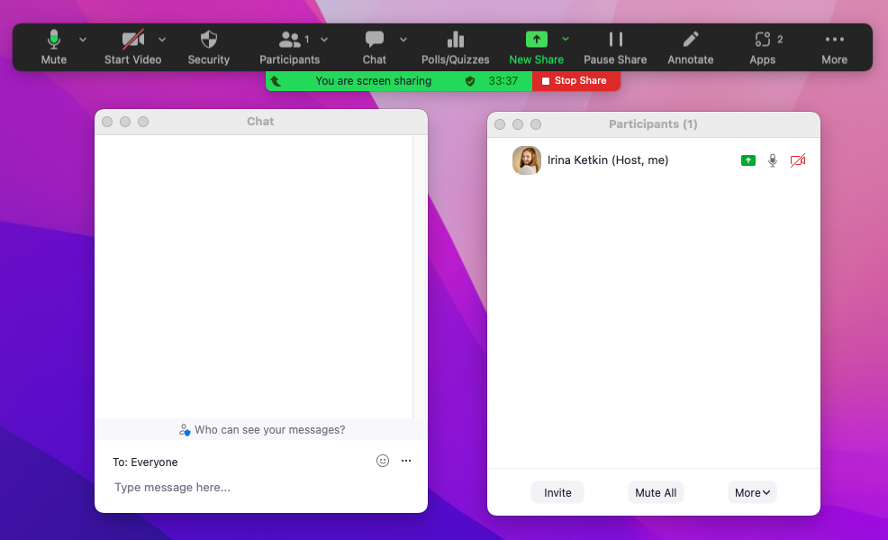
I also recommend that you keep the Participants panel displayed. This way, you can keep an eye on your attendees. You will know their audio status (muted or unmuted), video status (webcam on or off), and their current feedback status (raised hand, yes, no, emojis, and so on).
Tip 3. Stamp away! Annotation tool
After I started using the Annotation tool in my sessions, I can hardly imagine not having that great feature available for my learners. Annotations add the wonderful feel of collaboration and interaction we may have lost with virtual learning experiences. Your learners can draw on your shared screen, stamp, or add text to make your training more creative and fun.
Bonus reminder: Before asking participants to annotate, make sure you add a quick instruction on how to find this feature. It is common for people to feel lost and not know where to find or use it (including how to close the toolbar once the activity is done).

Oh! And remember, you can hide annotators' names from the 'More' option in your meeting controls.

Tip 4. Live opinions with Polling
Polling is a wonderful way to interact and gather valuable information for your training session. People get excited to provide their opinion and see the group's results.
Zoom's polls are a bit more complicated to set up, though. BEFORE the session, you need to turn on polling in your Meeting Settings. This is where you can add poll questions and possible answers.


DURING your session, select Polling from the Control Bar to open the Polls window. Select the poll question you want, then click Launch Polling. You'll see real-time results on screen as participants respond. Once finished, click on End Polling and then Share Results.


Tip 5. Get a Room! I mean... Breakout Room :)
Zoom breakout rooms can help participants feel a sense of community and social presence. Here are a few tips on using this amazing feature:
Wherever possible, have an additional colleague help you set up the rooms in advance, so you don't spend too much time on this during the session.
Make sure everyone knows what they will be doing in the breakout room before sending them 'away'. Ask a few times if there are any questions (one way to go about it is to ask everyone to give you a thumbs up from the reactions button if they are clear on their task).
Encourage learners to use audio and video where possible.
Keeping breakout rooms between 2 to 6 people will help everyone feel engaged and get everyone to contribute to the discussion.
Make sure there is plenty of time for breakout activities. A rule of thumb is to allow at least 2-3 minutes for people to get their bearings and then at least 4-5 minutes per person to answer a single question. If you have more than 1 question, then multiply the time.
Use the "Broadcast a message to all" option to inform the groups how much time they have left for the activity and remind them of any instructions. I can't tell you the number of times people go into breakout rooms, and the 'what did we need to do here?' question comes up once the group is away from the main meeting room.

In recent updates, Zoom allows the facilitator to continue sharing their screen in the breakout rooms. If that feature isn't enabled for you or is not something you want, send the instructions via the chat window, as that will remain active during the breakout activity.
Tip 6. Can I get your reaction?
One underutilized tool is the Reactions button. With just a couple of clicks, people can tell you how they feel, whether you should go faster or slower, answer Yes/No questions, and indicate they have queries. Let your learners know from the start that you expect them to use the reaction buttons and encourage them throughout - ask them if they are ready, how they feel after the break, if they agree with you, and so on.

Tip 7. There's an App for that!
In another recent update, Zoom allowed the installation of additional apps. These are third-party software that you can add to your Zoom account. But the best part - learners don't have to install anything on their own computers. The apps work within the Zoom meeting.

While it's still a new feature, some noteworthy mentions are the Timer, Miro and Asana integration, virtual backgrounds for all participants and many others. For the latest updates, keep an eye on Zoom's website.
Bonus tip: be planned, not canned!
Yes, you want to know your material thoroughly and test all features you will use in advance. Someone once told me: "The more preparation, the less perspiration during the event."
However, remember that doesn't mean memorizing and reciting your lines. Think of those training sessions you attended that struck a chord the most. Very likely, the most effective presenters were not robotic mannequins blurting out a script. Quite the opposite - they were having a conversation with you. Do the same! Be yourself and enjoy!
What other Zoom features have you been using recently? Let us know in the comments below or share your ideas on social media (remember to tag us).


